Michael Brown
Sealed my corrugated iron roof perfectly. No more leaks during heavy rain and the coverage calculator was spot on.

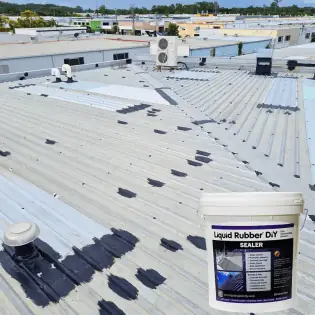
Roof leaking, rusty, or worn out?
Too hot in the Aussie sun?
Time to fix it ANYONE CAN DO IT.
Non Toxic Non
Toxic
Eco Friendly Eco
Friendly
Extremely Durable Extremely
Durable
Trusted By Industry Leaders:
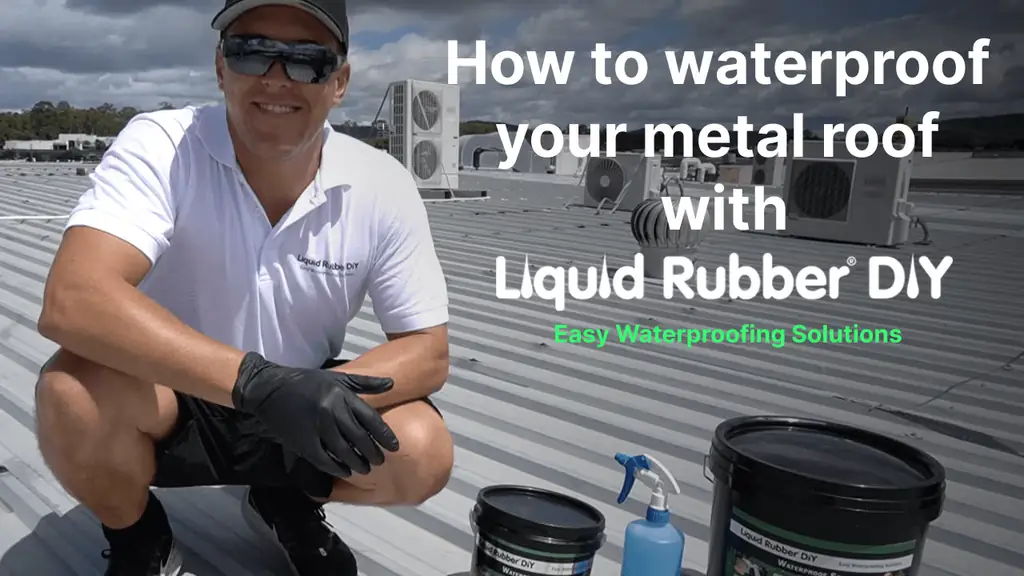
DIY Video guide to waterproof, seal, and protect your roof with Liquid Rubber DIY.
Tell us about your roof and we'll create the ideal kit for your project.
Non
Toxic
Eco
Friendly
Extremely
Durable
Highly
Flexible
High
Quality
VOC
FREE
Minimum 0.5 m². Use comma or dot for decimals. Arrow keys adjust. Hold + or − to repeat.
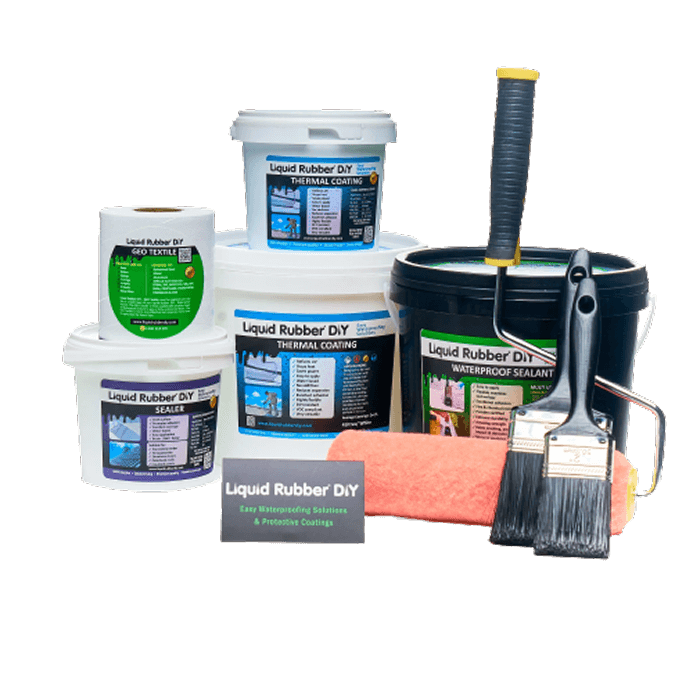
Here's all you need for your 15m² roof:
Recommended colour: White
Recommended colour: White
Order today and get the Brush + Roller Kit (Value $39.99) FOR FREE


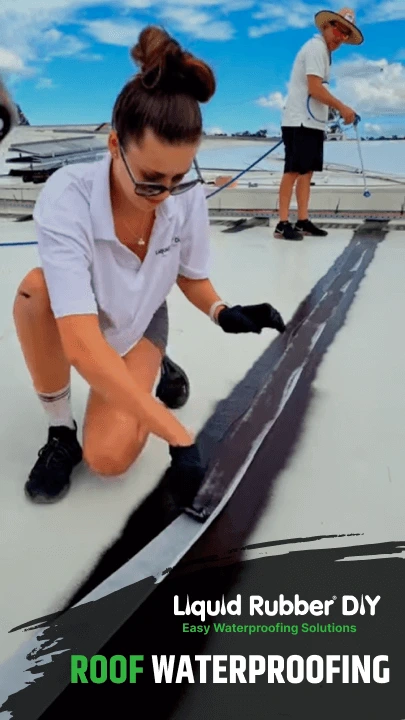
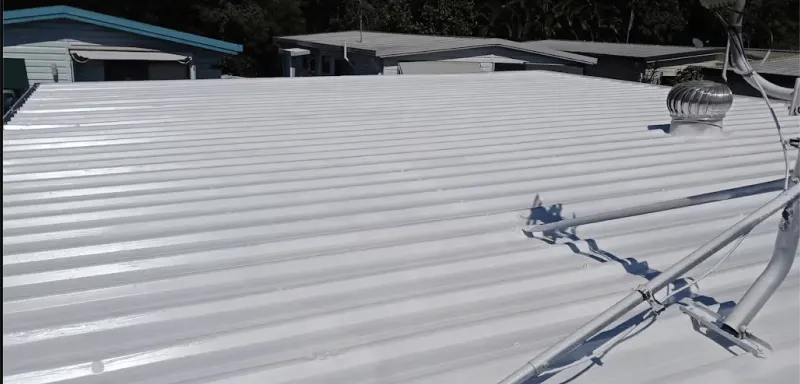
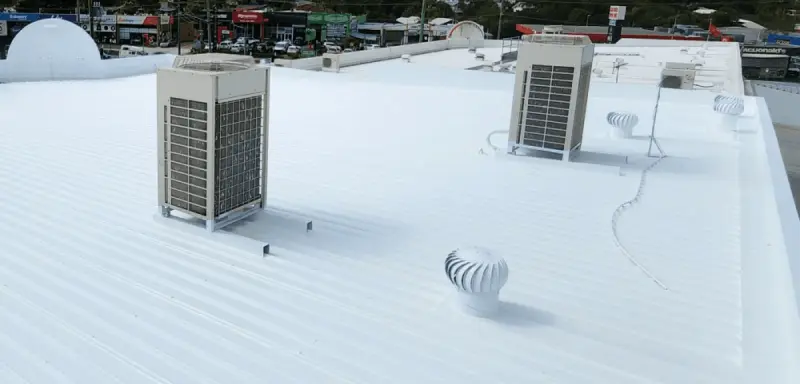
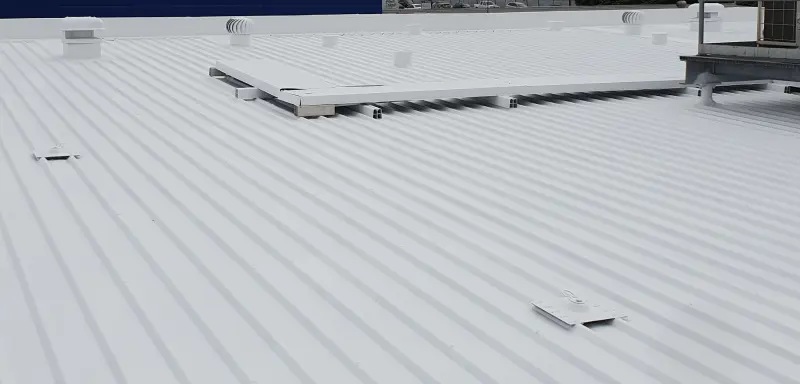
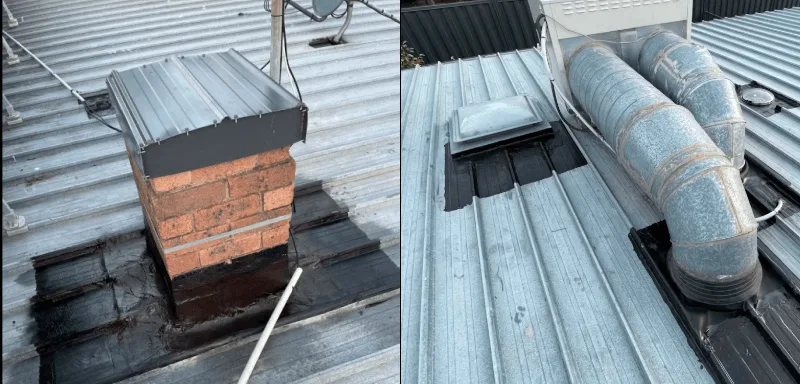
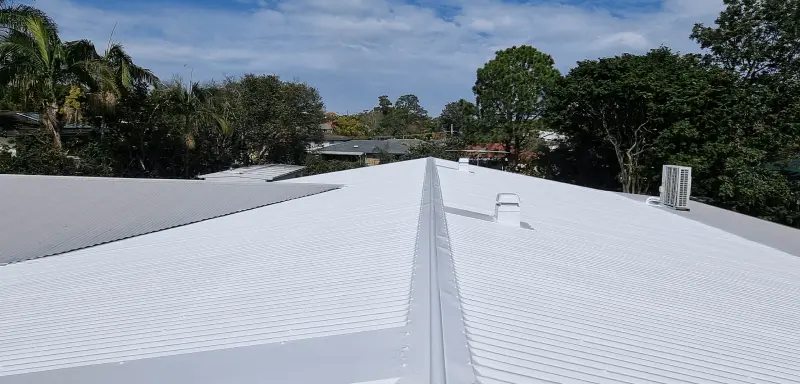
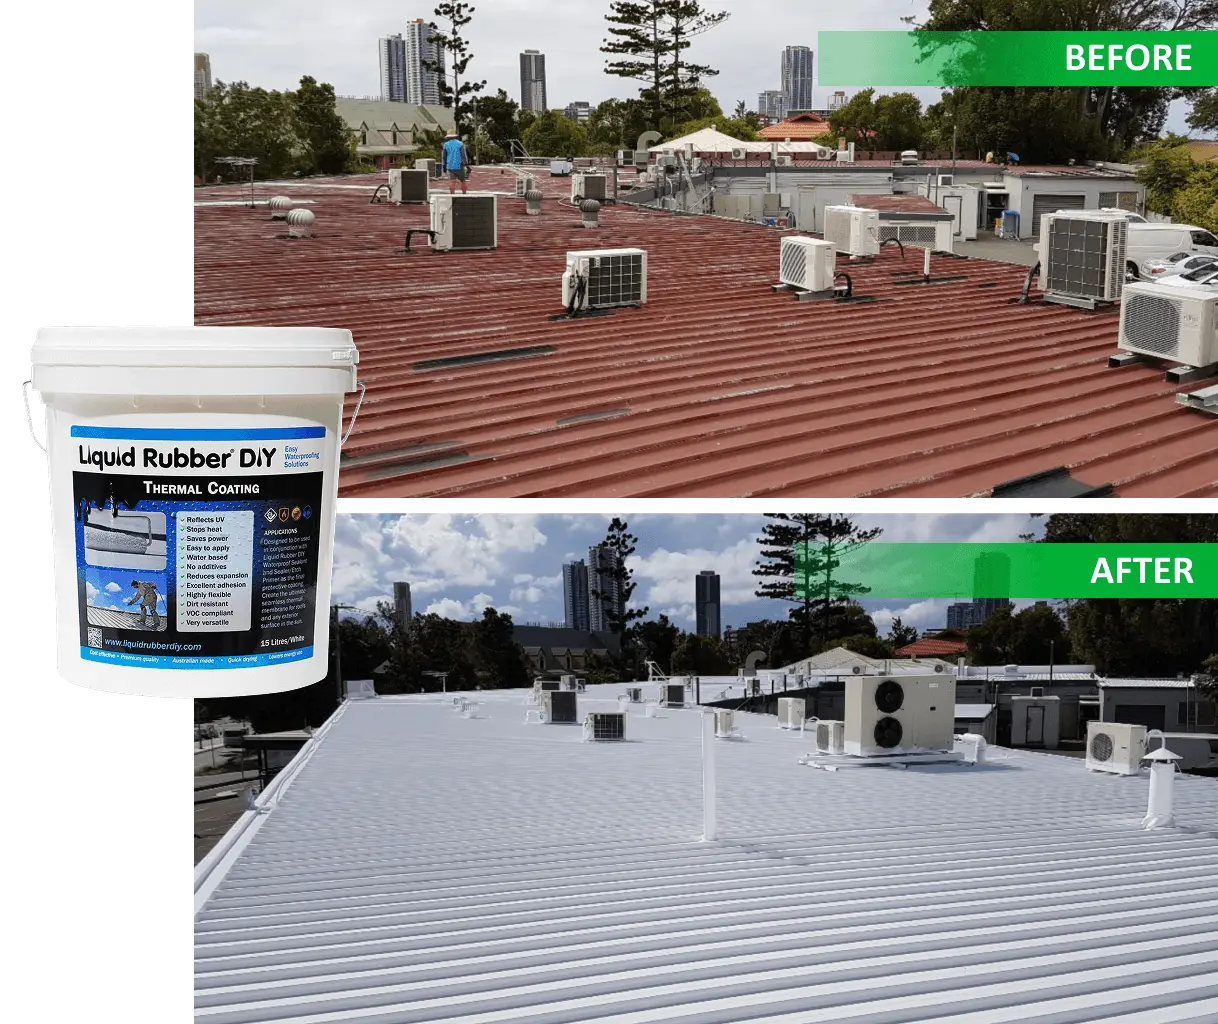
Real results from DIY roof waterproofing with Liquid Rubber DIY.
This product on our relocatable home has turned our home from a sweat box into a very comfortable home I cannot recommendable this product highly enough
I’m not a handyman, but I managed to fix the roof of my kitchen store with Liquid Rubber DIY. The roof was rusty and leaking, and a roofer told me it needed a full replacement that would’ve cost a fortune. Instead, I cleaned it up, applied the sealant, and it worked perfectly. No more leaks, and the thermal coating keeps the store cooler in summer. I easily saved around 20k, and I’m so glad I found this product. Highly recommended for anyone facing roof problems.
I used this as an intermediate coat between the Waterproof Sealant and the Thermal Topcoat, as well as covering some metal surfaces. It ensures good adhesion and coverage when you apply the Thermal Topcoat. Just a hint with this and the Waterproof Sealant: don't bother attempting to clean your brushes, buy throw-away brushes.
I sealed several pass-throughs on my flat tin roof (skylights, chimney, ducts) with liquid rubber and the instant hardener spray. It worked great. Filled low spots with foam, covered with geo-textile, and applied more coats to create slope so water no longer pools. Roof is now protected and I wish I’d known about this product earlier. Tip: always use the rapid cure spray, even on sunny days, as overnight condensation can stop the rubber from drying properly.
Best invention ever Goes an enormously long way Pained my whole roof that had some hail damage
I have to say that is waterproofing system is fantastic. I have now used it to repair a rusted out box gutter full of holes and no more leaks. Not sure how long it will hold for but hey cheaper than replacing the entire roof just for the box gutter. Fully recommended. I have also fully sealed flashings all around my house and I am exited to say I feel they are now water tight.
I had tried a number of solutions to fix our continuously leaking roof. It wasn’t until I applied the Liquid Rubber Waterproof Sealant that I finally found a permanent solution. Happy to put away the drip buckets!

I have used this company's liquid rubber sealer a couple of times now and not only is the product really easy to use, the cleanup of my equipment with water is a breeze. Delivery is quick, the packaging is secure and the transport cannot be faulted. Will I use these guys again? YOU BET... and I'm a really hard marker.
I have bought 3 different times the product was delivered quickly , I also asked a few questions about how much product I would need and was answered within minits . The explanation was excellent stating exactly what I wanted to know easy to understand for someone with no previous experience in the field AAA+++ RECOMENDED
Terrific product — easy to use, strong, durable, paintable. You won’t regret this purchase.
This stuff is incredible — easily applied and does exactly what it says. Fair price for a top-quality product.
Fantastic product easy to apply and the phone service was excellent as they guided me through the process I totally recommend there product and appreciate the guidance on the phone as what I needed and I think they are very helpful
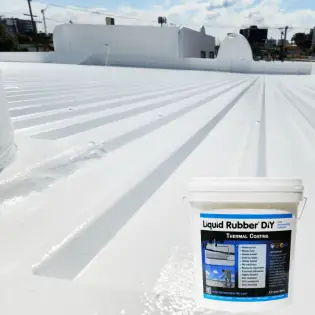
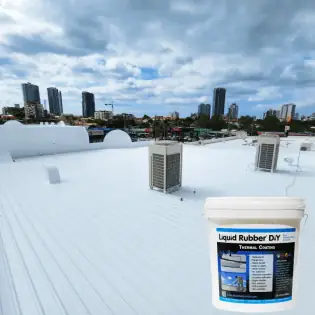
Finish with a thermal barrier that keeps your roof cooler and protected all year round.
Pressure‑wash the entire roof to remove dirt, loose paint and rust flakes. Clear around screws, joints and overlaps. Let the surface dry completely before coating.
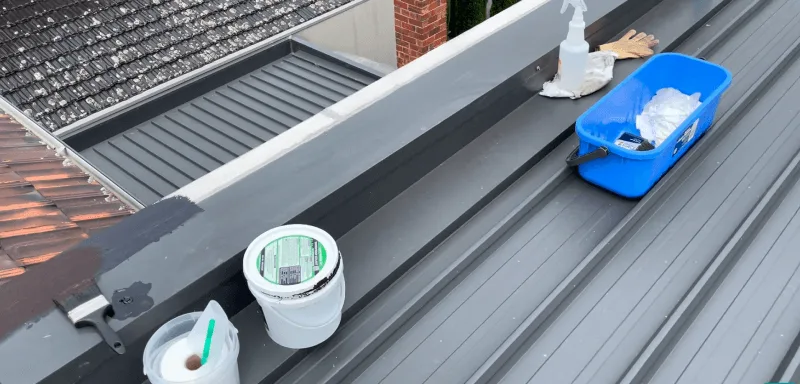
Seal all seams, screws, cracks and penetrations with Liquid Rubber. While wet, embed GEO Textile to reinforce weak spots, then add a second coat on top.
Prime painted/coated areas with Primer/Sealer. Use Etch Primer on bare metal or rust to stop corrosion. The Kit Builder below recommends the right primer for your roof.
Apply the first thermal coat evenly. Work in the cool hours for a smooth finish. Adds UV protection, reduces heat and extends roof life.
After the first coat dries, apply a second coat at right angles to reach full thickness. Double‑check edges, screws and seams; touch up any missed spots.
Compare Liquid Rubber DIY with conventional roof coatings and sealants.
| Feature | Traditional Sealants | Liquid Rubber DIY Kit |
|---|---|---|
| Waterproofing | Prone to leaks, leaves gaps and cracks. | Fully watertight. Seals your whole roof. |
| Flexibility & Durability | Cracks or peels in heat and cold. | Remains flexible. Never cracks or peels. |
| DIY Friendly | Often tricky to use—may need a pro. | Brush or roll on. Anyone can do it. |
| UV & Weather Proof | Breaks down in sun or heavy rain. | Made for Aussie weather. Lasts for years. |
| Eco & Cost Effective | Harsh chemicals, needs frequent recoating. | Water-based, non-toxic. Saves money. |
| Adhesion & Maintenance | Doesn’t stick well, repairs common. | Sticks to any roof. Low maintenance. |
Traditional
Prone to leaks, leaves gaps and cracks.
DIY Kit
Fully watertight. Seals your whole roof.
Traditional
Cracks or peels in heat and cold.
DIY Kit
Remains flexible. Never cracks or peels.
Traditional
Often tricky to use—may need a pro.
DIY Kit
Brush or roll on. Anyone can do it.
Traditional
Breaks down in sun or heavy rain.
DIY Kit
Made for Aussie weather. Lasts for years.
Traditional
Harsh chemicals, needs frequent recoating.
DIY Kit
Water-based, non-toxic. Saves money.
Traditional
Doesn’t stick well, repairs common.
DIY Kit
Sticks to any roof. Low maintenance.
Liquid rubber technology has been around for over 50 years, with early liquid-applied membranes dating even back to the 1960s.
Liquid rubber can stretch up to 1800% without cracking, then shrink back to the same size and restore itself after movement.
NASA Connection – The Liquid Rubber Formulations is inspired by elastomeric coatings designed for aerospace and extreme environments.
Liquid Rubber thermal coating is engineered for Australian roofs. Reflects heat, blocks UV rays, reduces inside temperatures, and keeps your home or building cooler in every season.
Reduce heat, save on energy, and extend the life of your roof.
For the best waterproofing results, apply Liquid Rubber to a clean, dry roof. Remove loose or peeling coatings, silicone, rust scale, and other contaminants first. This ensures maximum adhesion and long term leak protection for your roof.
Usually, no. In most projects you only need to seal the problem areas: rusty patches, seams and joints, around skylights and vents, laps, screws and penetrations, and any spots where water can pond. Targeting these areas stops leaks while saving time and materials. In rare cases, such as when large sections are rusted or existing coatings are failing everywhere, a full roof application can be helpful. Make sure the substrate is still structurally sound because severely rusted or weakened roofs may require repair or replacement. Where the metal is sound, a full coat helps encapsulate the rust and can extend the roof’s lifespan.
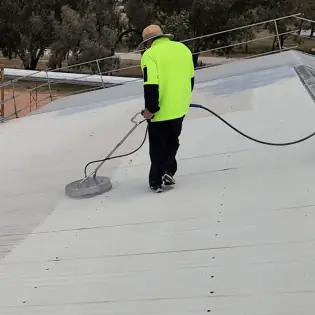
Application is simple. Use a paintbrush, roller (included in our kits), or a spray machine for larger roofs. Basic safety gear such as gloves is recommended, and keep a suitable cleaner handy for spills and tool cleanup.
Use a power washer to clean the surface. The surface must be clean, dry, and free of loose paint, rust, and other contaminants.
The Rapid Cure Spray is only used for the Waterproof Sealant to instantly set the product and protect it from approaching rain. It is fully optional but we recommend using it for best results.
Apply a minimum of two coats of Liquid Rubber waterproof sealant (Amount in the Kit Builder is enough for 2 - 3 coats). For the Thermal Coating, apply also two coats minimum - three coats over the waterproof sealant for best coverage. The sealer and etch primer require only one coat.
No. The thermal coating is optional. It adds strong UV protection and reflects heat, which helps the roof stay cooler and can extend its life. If you want waterproofing only, untick the Thermal Coating and the primer or sealer in the kit builder.
Choose any colour you like. For performance, brighter colours work best. White gives the strongest UV reflection and heat protection. Dark colours reflect less UV and will run warmer.
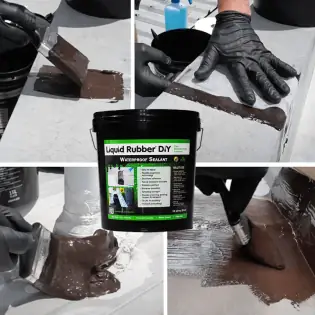
The Waterproof Sealant appears brown when wet but turns black when fully cured. If you want a coloured finish, we recommend applying a primer on top of the cured sealant, followed by a top coat in your chosen colour. This approach ensures both waterproofing protection and creates enhanced UV resistance and provides longevity.
Allow each coat of Liquid Rubber waterproof sealant to cure for 12 to 24 hours before recoating (full cure in 72h - depending on the weather). Primer coats typically dry in 2 to 4 hours. For the thermal coating, wait 12 hours between coats for best performance.
Yes. It is suitable for common Australian roof types including corrugated iron or Colorbond, Trimdek or Spandek, Klip Lok or Snaplock, concrete, fibreglass, PVC, EPDM rubber, and TPO.
Apply in dry, mild weather. Avoid application if rain, dew, or strong winds are expected within 24 hours. This helps the coating cure properly and prevents moisture from affecting adhesion.
We ship Australia wide. Orders typically arrive within 3 to 8 business days. Local pickup is also available at 1 Conway Court, Nerang, Gold Coast, QLD 4211.
Yes, it is safe. The Liquid RubberWaterproof Sealant is potable water certified. For the Thermal Coating, If you're collecting rainwater for drinking purposes, disconnect the downpipes for the first downpour to allow the system to wash thoroughly before reconnecting. Alternatively, once the thermal coating has fully cured, you can power wash the surface and then reconnect the downpipes. Liquid Rubber DIY products are safe for rainwater collection and will not compromise water quality after the recommended washing process is complete.
We spray Liquid Rubber DIY waterproof sealant with a Graco Mark V airless spray machine. For the thermal coating we use a VEVOR airless spray machine.
Get everything you need: step-by-step application guide, technical data sheets, and safety information for all products included in your kit.
APPLICATION GUIDE
ROOF KIT
